cloud-init image.qcow2 image import and start Proxmox VE virtual machine
- Download Links for Cloud Images
- Information About CentOS Versions:
- Step One: Download Cloud Images
- Step Two: Import Cloud Images into PVE
- Step Three: Create a Virtual Machine
- Step Four: Import Cloud Image for VM
- Step Five: Set Boot Order
- Step Six: Configure Cloud-init
- Step Seven: Boot and Test
- Step Eight: Enable Root Login
- Step Nine: Clone the VM to Create a Template
Download Links for Cloud Images
This article outlines the download links for cloud images. It also includes practical insights derived from the following source: Proxmox Cloud-Init Image Templates Download (CentOS, Ubuntu, Debian) - Prokvm Cloud Management System - XMBILLION Prokvm Community
CentOS:
Ubuntu:
Debian:
Fedora:
Red Hat 7:
https://access.redhat.com/downloads/content/69/ver=/rhel---7/x86_64/product-downloads
openSUSE:
Information About CentOS Versions:
File: CentOS-7-x86_64-GenericCloud-20141129_01.qcow2
Description: This is a baseline image.
File: CentOS-7-x86_64-GenericCloud-20141129_01.qcow2c
Description: Same content as the above image but compressed internally using qemu qcow2, suitable for development and testing with lower I/O performance, not recommended for production environments.
File: CentOS-7-x86_64-GenericCloud-20141129_01.qcow2.xz
Description: A standard qcow2 file compressed with xz, suitable for production environments.
File: CentOS-7-x86_64-GenericCloud-20141129_01.raw
Description: This is a raw format file, not in qcow2 image format. It can be converted to other formats using “qemu-img convert.”
Step One: Download Cloud Images
Step Two: Import Cloud Images into PVE
You can choose any location for importing; it should be easily accessible. I saved mine in /var/lib/vz/images.
Step Three: Create a Virtual Machine
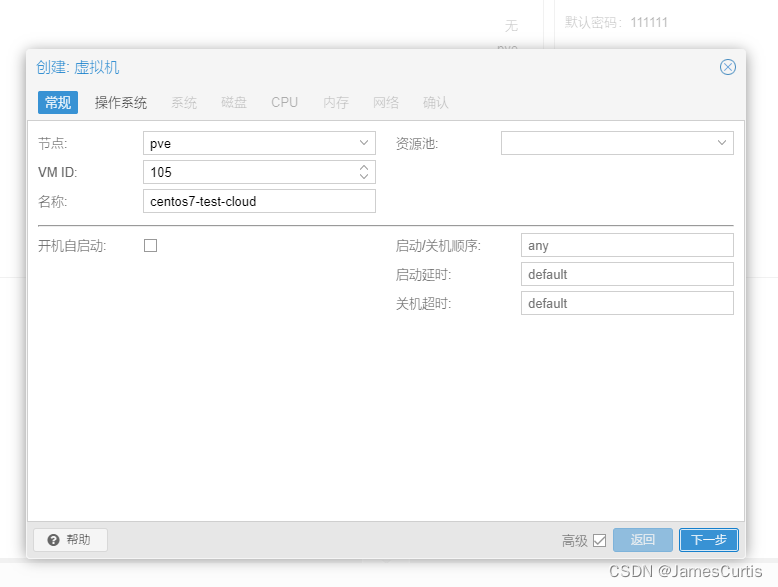
- General
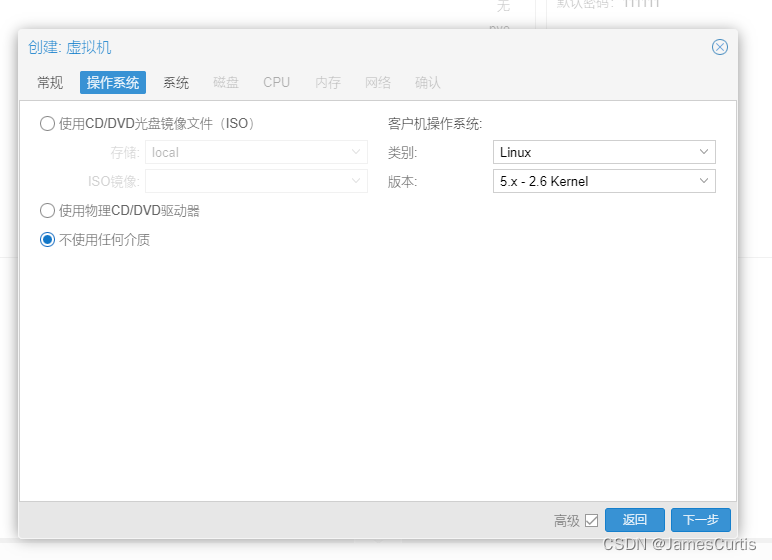
- Operating System
No need for a hard drive here.
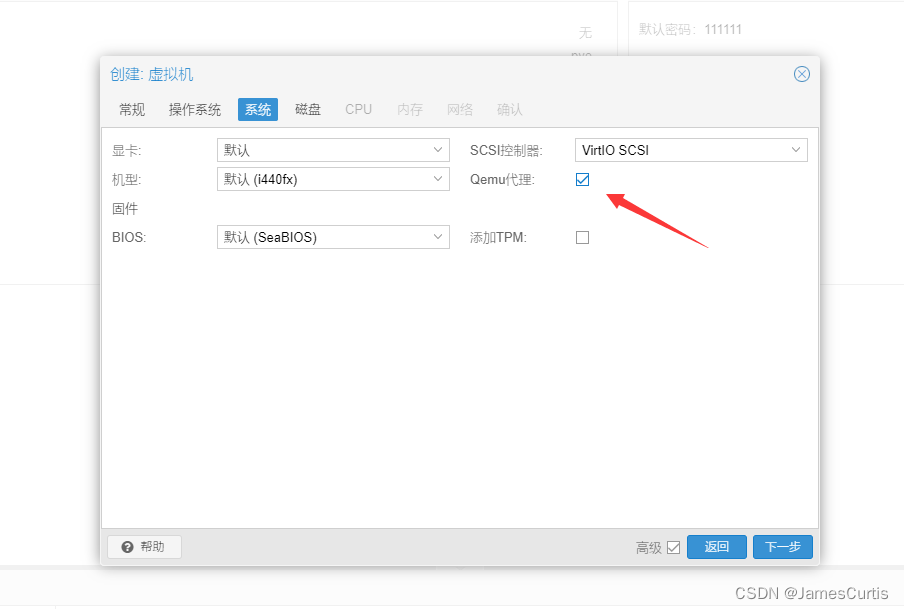
- System
Make sure to check “qemu agent.”
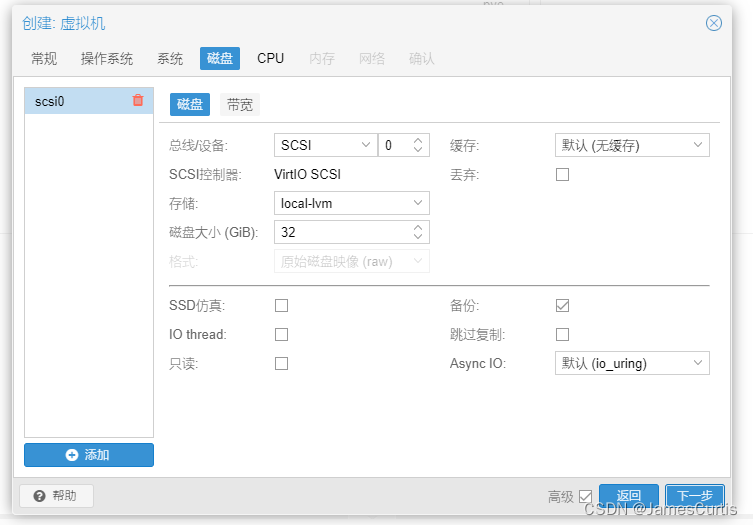
- Disks
You can leave the disk settings as they are; we’ll remove them later.
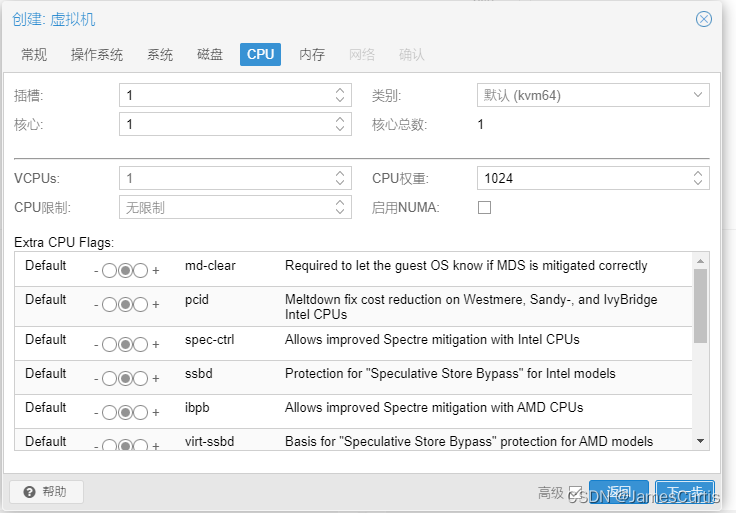
- CPU (default)
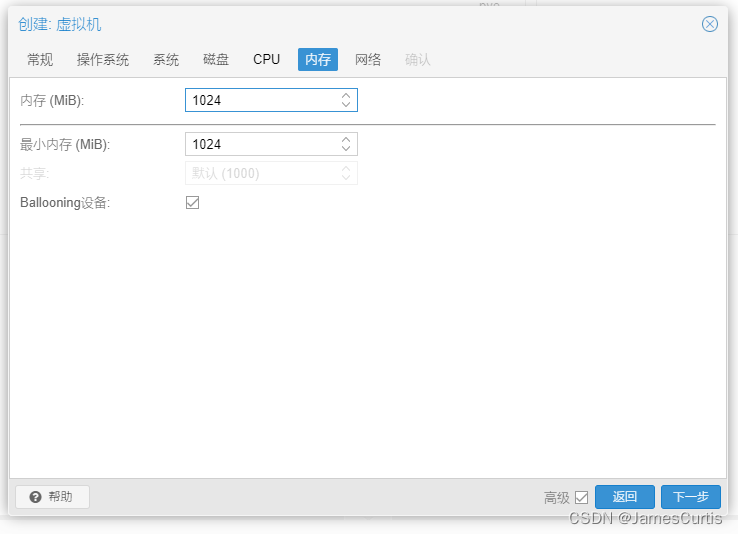
- Memory
I changed it to 1024 since I’m creating a template.
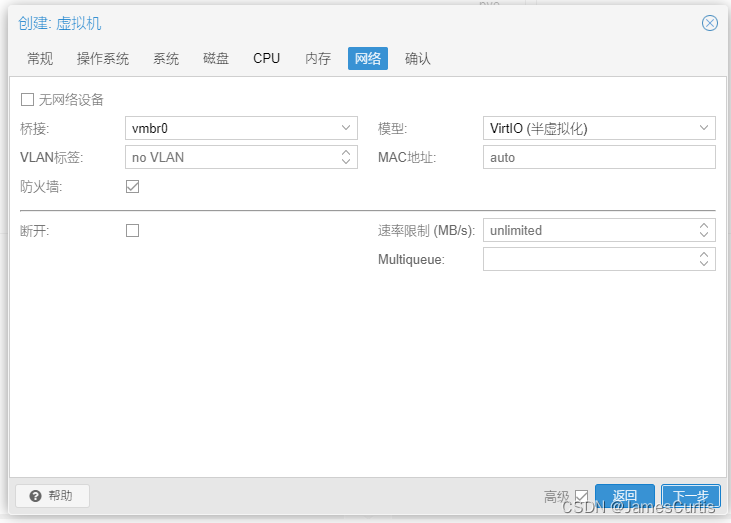
- Network (default)
- Confirm and finish the creation.
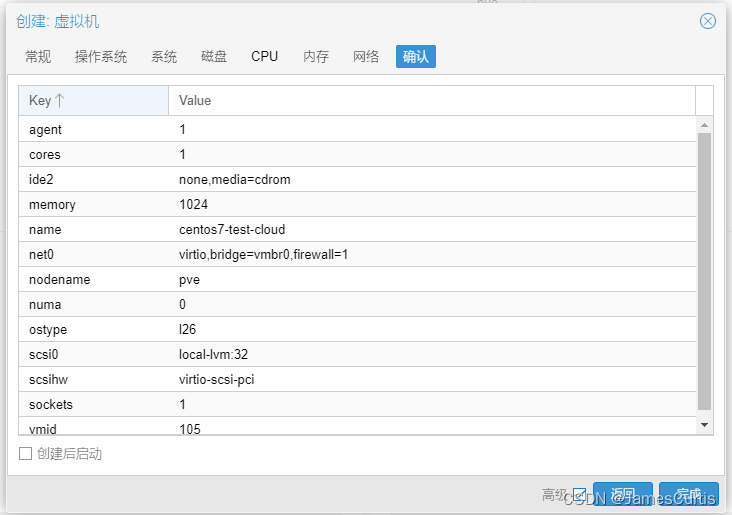
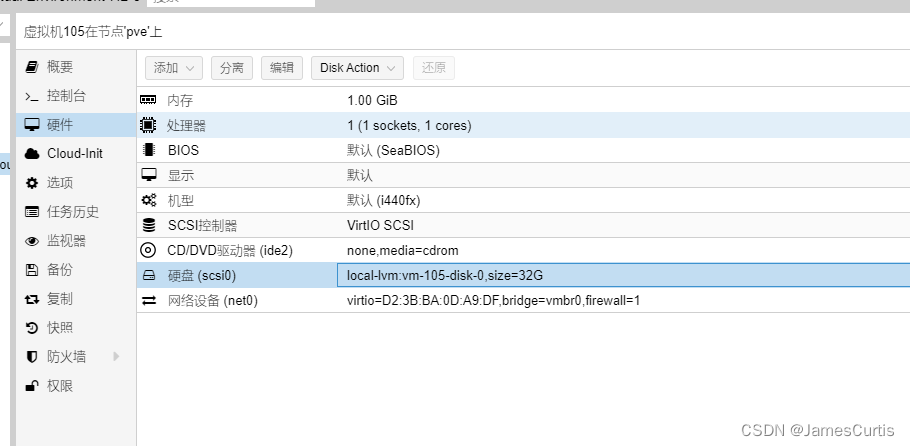
Modify Hardware
- Detach and delete the hard drive.
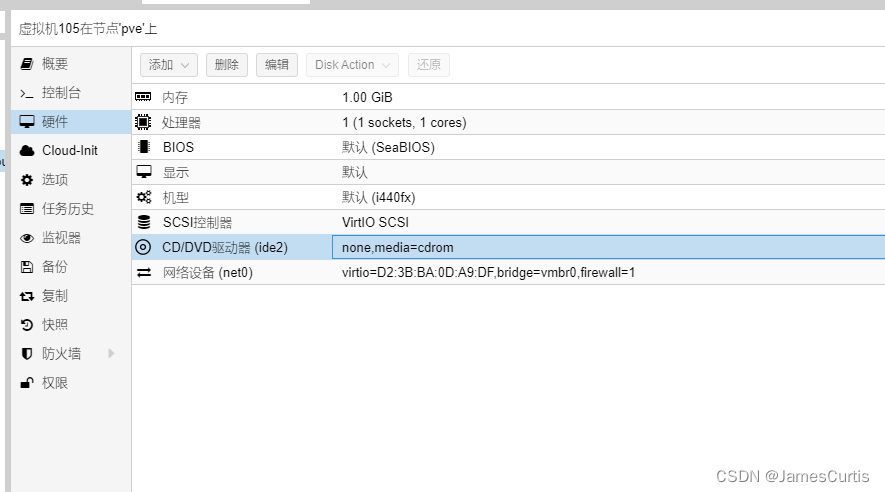
- Delete the CD/DVD drive.
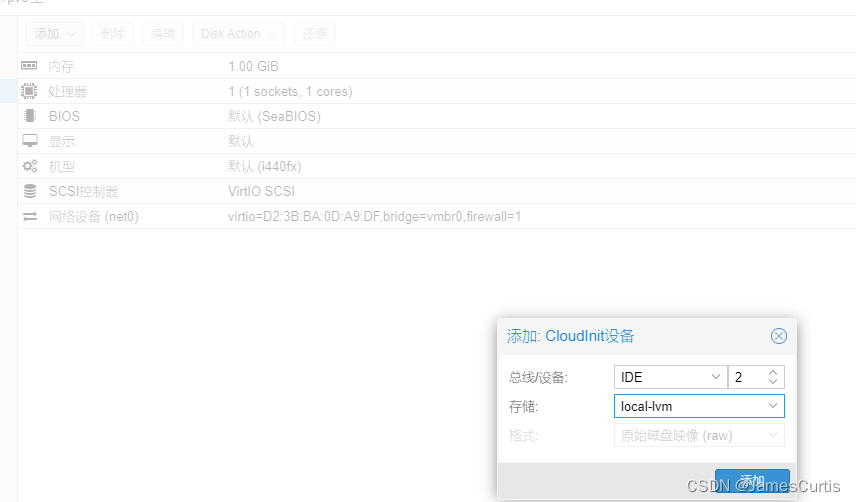
- Add a Cloud-init device.
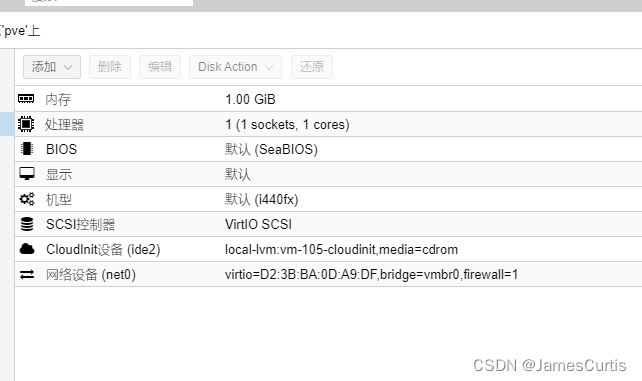
The article mentions adding USB and serial devices, but I’m not sure what they are used for. The official documentation also suggests adding a serial device and changing the monitor to serial, but in my testing, it didn’t seem necessary. Maybe I made a mistake in my operation. I would appreciate guidance from experts.
Step Four: Import Cloud Image for VM
Execute the following command:
1 | qm importdisk 105 /var/lib/vz/images/CentOS-7-x86_64-GenericCloud-1907.qcow2 local-lvm --format=qcow2 |
Where:
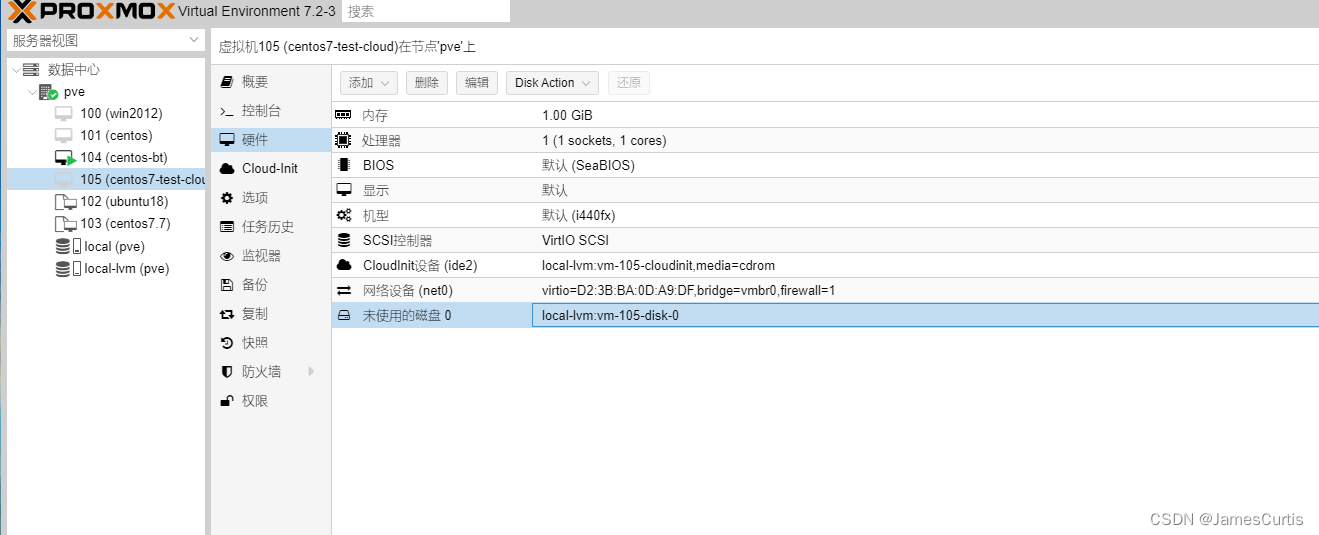
105refers to the ID of the machine you just created, as shown in the image./var/lib/vz/images/CentOS-7-x86_64-GenericCloud-1907.qcow2is the path to the uploaded image.local-lvmis your storage node, as shown in the image.--format=qcow2indicates importing in qcow2 format. If the image already has a qcow2 extension, this option is not necessary. I left it for consistency.
The import should be successful.
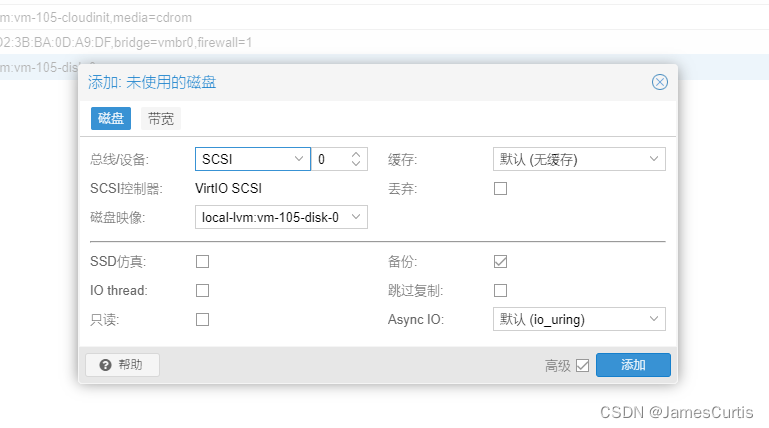
Go back to the panel and check for an unused disk, double-click on it, and enable it.

Step Five: Set Boot Order
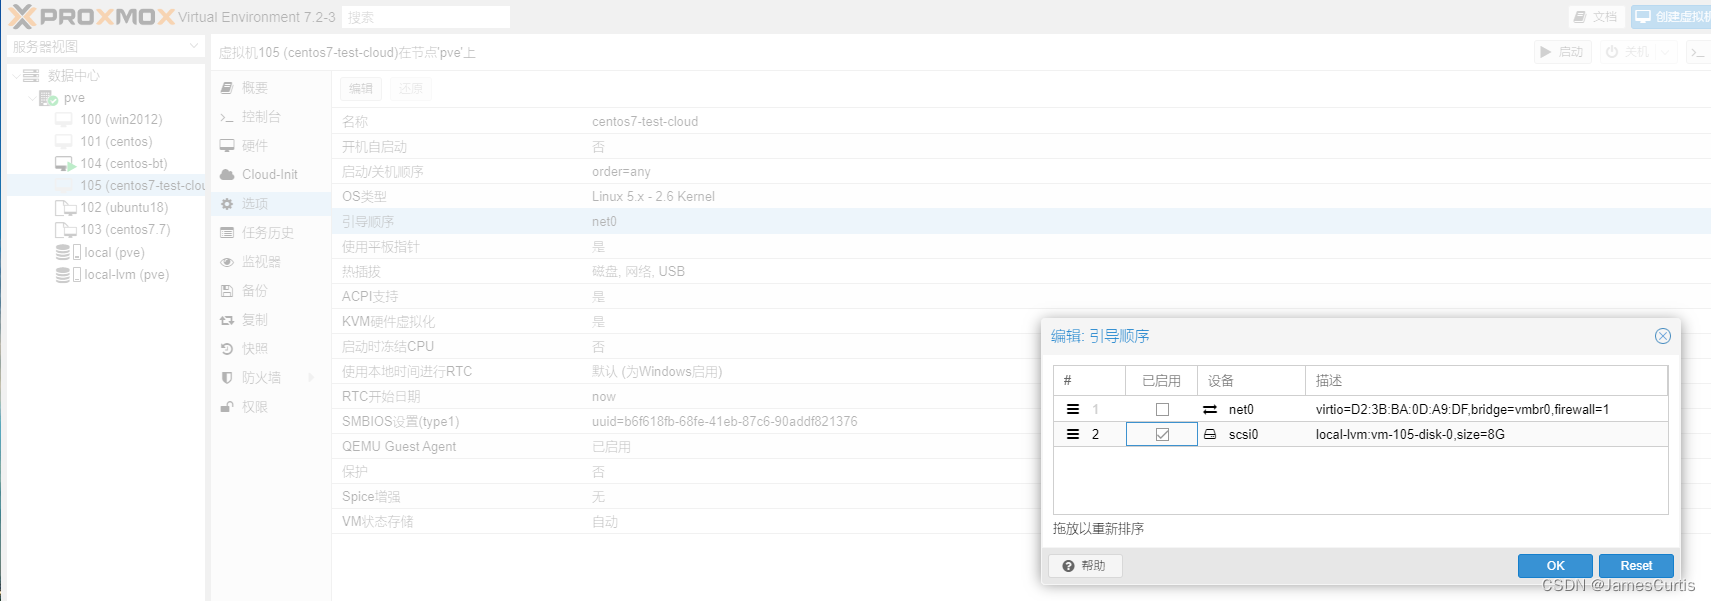
Select the disk you just enabled and remove the network boot option.
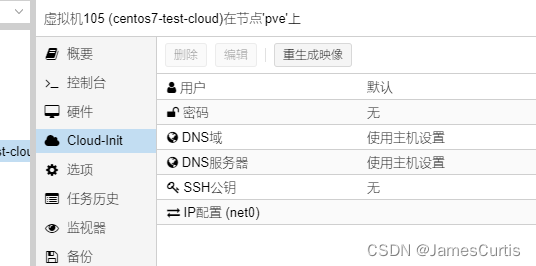
Step Six: Configure Cloud-init
When you first open it, it should look like this:
Special Note:
The “User” field is mandatory.
User: root
Password: Set it as desired; I set mine to 111111.
DNS Domain: DNS1, here I set it to 223.5.5.5.
DNS Server: DNS2, here I set it to 223.6.6.6.
IP Configuration: Here I set it to DHCP.
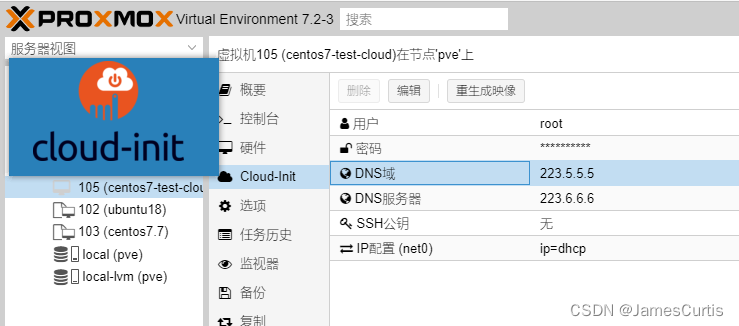
The configuration should look like this:
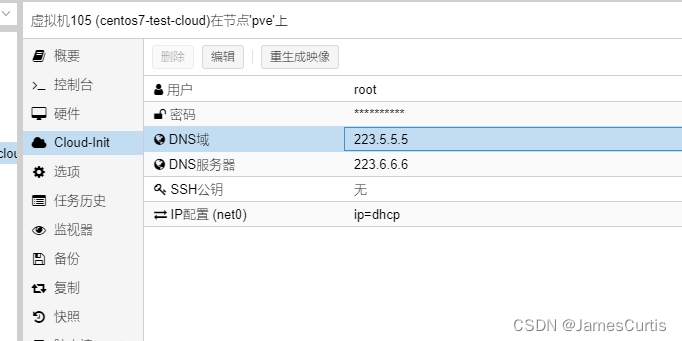
Cloud-init will use the VM’s name as the hostname.
Step Seven: Boot and Test
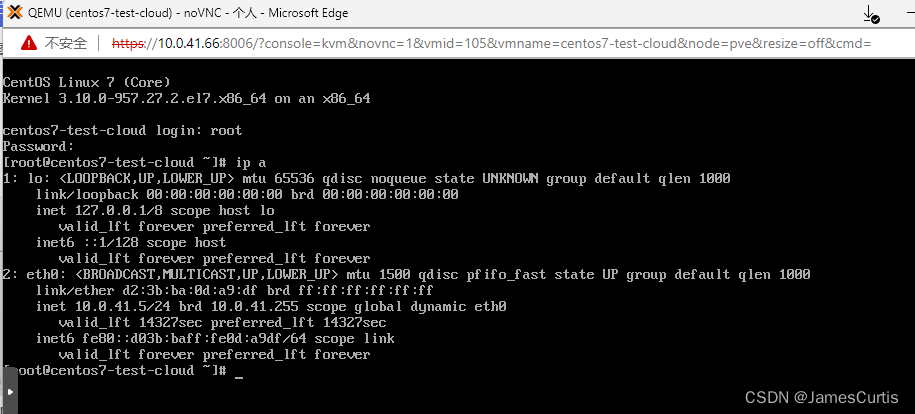
Success!
Step Eight: Enable Root Login
Edit the /etc/ssh/sshd_config file and modify PermitRootLogin to “yes” and PasswordAuthentication to “yes.”
Step Nine: Clone the VM to Create a Template
Shutdown the VM and then right-click on it and select “Convert to Template.”
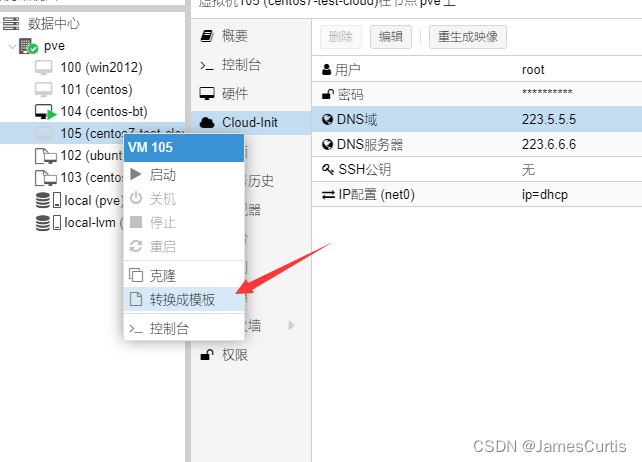
Now, you can link to or fully clone the template.